Learning to make homemade and organic fertilizers, has become an effective alternative to enrich the soil on farms, without resorting to intrusive methods such as chemical fertilizers.
There are several ways in which you can produce your own homemade fertilizers, depending on the waste you can use from your farm. And the benefits are very wide: the investment in fertilizers is saved, the quality of the soil is improved and the final costs of the products in the market are reduced, which can make them more attractive for the consumer , etc.
Types of homemade fertilizers that you will find in this article:
Organic fertilizer from dairy and pig waste
Compost from Vegetable Waste
Making the most of vegetable waste such as dead crops, leftovers of livestock feed, and waste by pruning, will contribute a lot to the quality of your land.

First of all, to prepare this compost, an ideal location for the fertilizer site must be selected. Near a water source, protected from the wind but in a sunny area.
Then the materials must be prepared. The plant residues must be cut into small pieces and the manure is also torn apart, as this helps the decomposition process to be faster.
Before introducing materials into the fertilizer site, a bed about 15 cm high with branches should be made. Also, introduce sticks that will be the vents, 0.8 m away from each other. Subsequently another layer of plant residues is placed and irrigated, followed by a 5 cm manure layer, earth flower and finally lime. This pattern is followed, forming a pyramid structure until reaching 1.20 m high.
Finally it is given a cover of dry land or hay, after 4 days the vents are removed. By the third week the compost is turned over, water is added if necessary and reassembled until again. After 3 months the compost acquires a black color and a spongy texture, which indicates that it is ready.
Organic fertilizer from dairy and pig waste
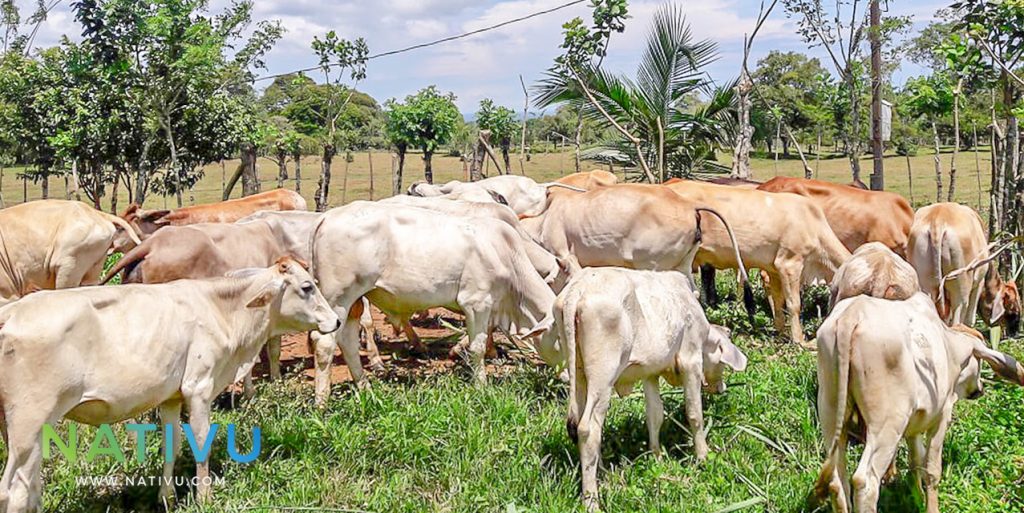
The combination of efficient microorganisms such as bacteria and yeasts, together with solid and liquid wastes from livestock, favor the production of organic fertilizers.
The procedure requires very basic materials:
- A cup of rice
- non chloride water
- A cup of raw milk
- Two spoons of yeast
- A cup of molasses or honey
- A pantyhose
- a 5 gallons Bucket
- cloth
- Bags of calcium carbonate (1 per bed)
- manure
- black plastic bags
- Sawdust (optional)
The above list is necessary to be able to capture and prepare the efficient microorganisms that will be added to the waste. The rice should burst, when ready, it is placed in the pantyhose and placed in the soil for 10 days. This will attract the bacteria that will then be introduced into the bucket. Subsequently, milk, honey, yeast and water are added to bacteria and rice. Finally everything is covered with cloth.
If the compost looks very wet, sawdust can be added before covering with black plastic bags. The process can take between 38 and 45 days and it is recommended to turn the material every 3 days. So that the temperature rises between 50 and 70 degrees Celsius and can be applied to the crop.
Earthworm fertilizer
Homemade fertilizers with worms, or “vermicompost” are a very effective type of organic fertilizer, which uses the abilities of some worms to decompose waste.
If your farm produces waste such as manure, coffee brush, pruning waste, banana stick or cachaza, this method may be of interest to you.
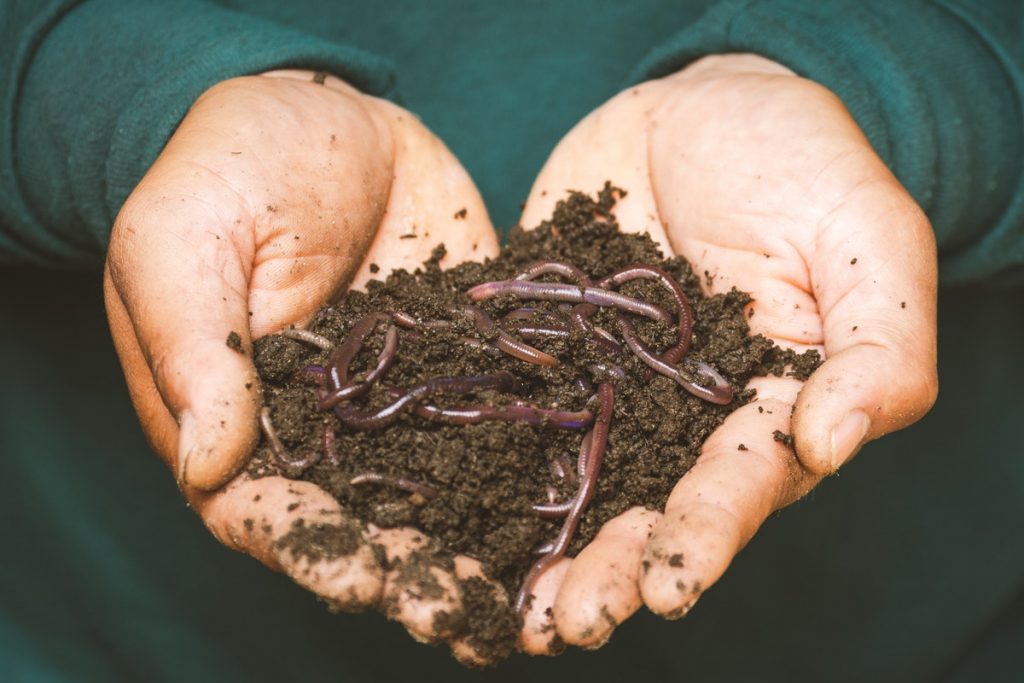
Now, the earthworm species that can be used for this process are Eudrilus Eugenia, Oak worms and Eisenia foetida. To start your worm project, it is recommended to start with a population of one thousand worms per square meter. They reproduce in the same home fertilizer so in 2 or 3 months the population can double naturally.
Once you choose the worm you are going to use, you need to prepare the organic material beforehand. The fact that it goes through a decomposition process for at least two weeks will help the worms digest it better and thus be able to produce the humus that is the key ingredient.
When the compost is ready (2 to 4 months), we should carefully remove the lights, in order to dry and sift the material for final use. The vermicompost should be kept in a cool place, in low light, where it is not exposed to the sun, rain or animals that can attack the worms.
Whatever the method you choose to start your compost project, you can be sure that not only will it be a more intelligent use of the resources of your farm land, but it will also bring you long-term benefits. Homemade fertilizers improve soil productivity, reduce the need to use chemicals, which saves production costs. They also reduce soil and water pollution, eliminate bad odors due to the decomposition of uncontrolled waste. They also give added value to your work and can also become an extra income if you decide to sell sacks of organic compost.
The opportunities are many, find out more through the website of the Ministry of Agriculture and Livestock of Costa Rica and start producing your own compost!


