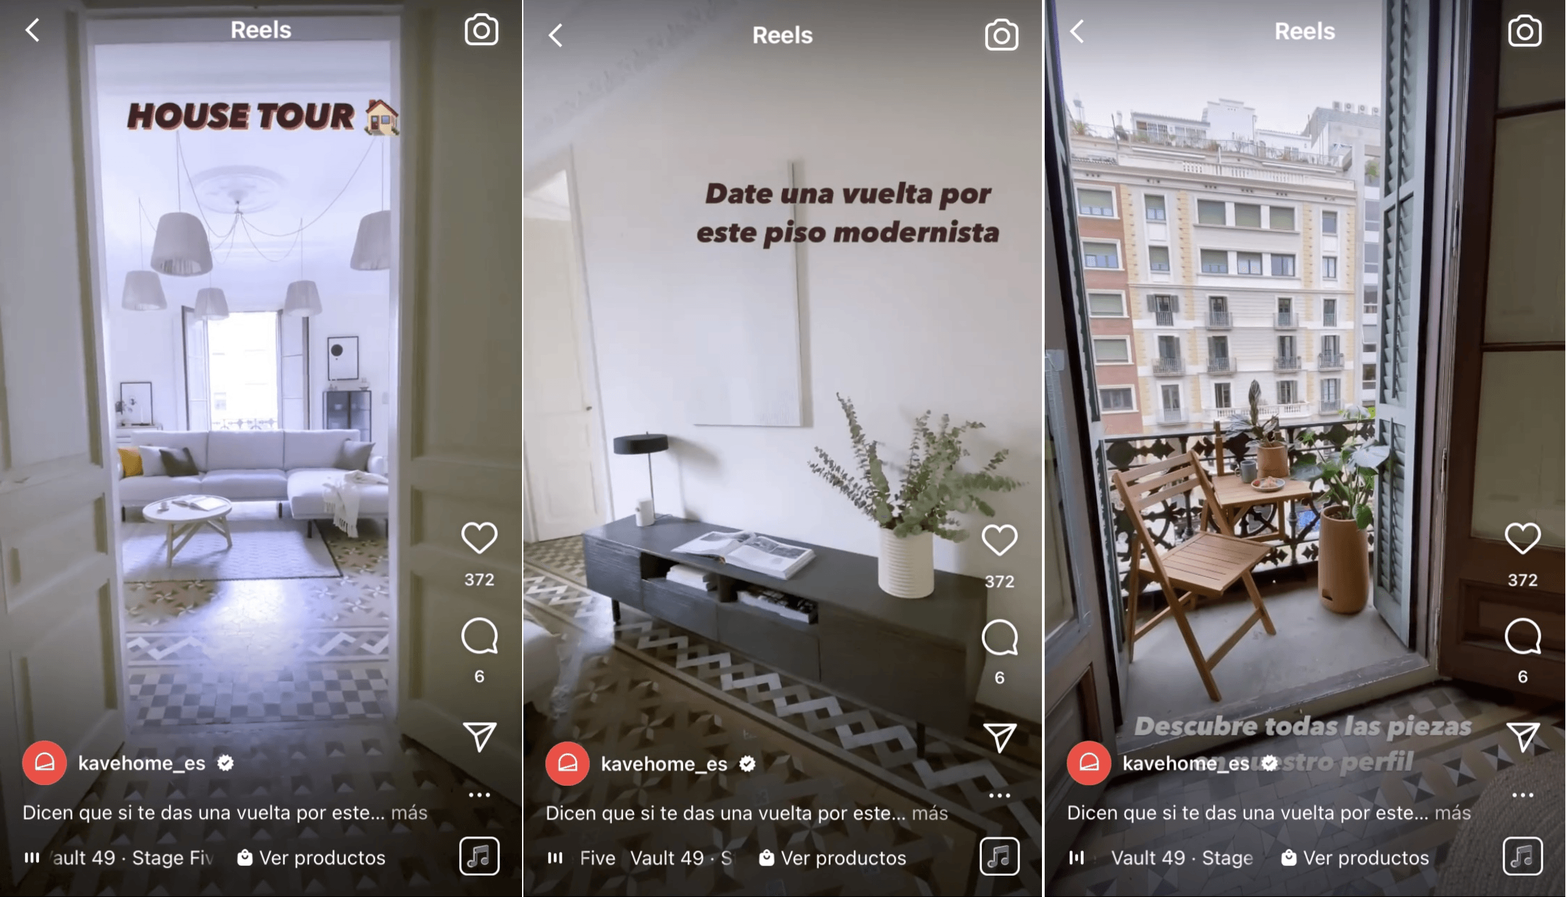
The rise of social networks and the incorporation of new tools has made different businesses take advantage of them to reach a larger audience. This is the case of reels for real estate. This companies have been creating blogs, producing videos, and incorporating photographs to carry out different transactions with the properties they represent.
Technology has become very useful for real estate consultants and their job of showing properties and convincing the client to visit lots and infrastructure to finalize the transaction.
Instagram reels maintain different functionalities, advantages and features that are useful for real estate professionals.
What is an Instagram reel?

It is a new tool incorporated by the social network Instagram that is about sharing videos with music whose duration is between 15 and 30 seconds. It is similar to the story format and its objective is to capture the public by copying certain functions offered by TikTok but providing them on the same platform.
This tool is adapted to a wider audience, which attracts the attention of young people and adults as they are short videos that do not require much time to watch them complete.
Step by step to do a reel
- Open your Instagram app and go to your profile page.
- Click on the “+” sign in the top right corner and then click on “Reels”. At this point, you will be looking at your face on the screen.
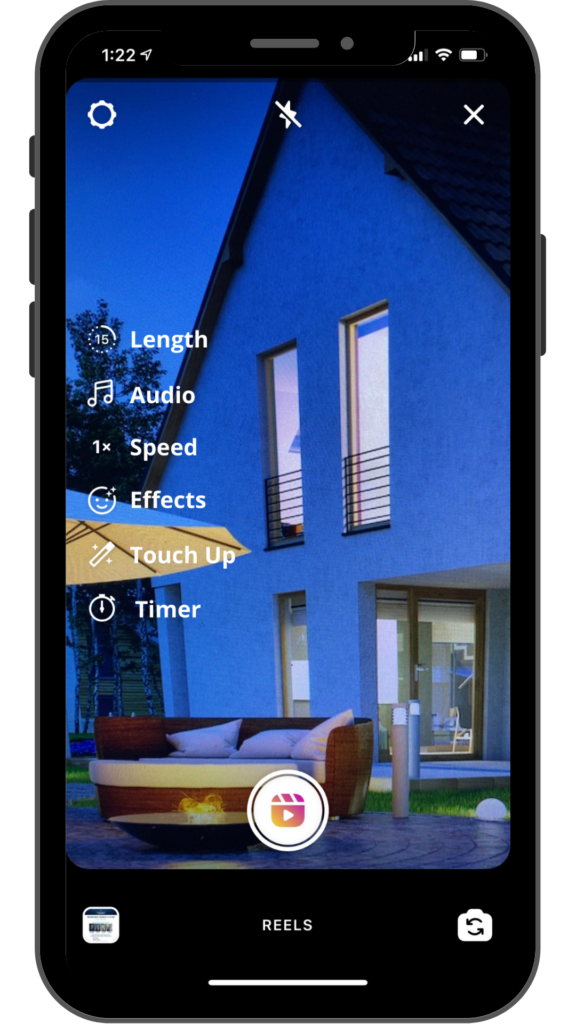
- On the left side of the screen, you will see different editing tools
- Length: you can set the length of your reels. You will see a 3-2-1 countdown and then the video will start. You have the option to publish a 15 or 30 second video.
- Audio: here you can add music to your video. Instagram has several options in their library, or you can use your own recording.
- Speed: you can slow it down or speed it up.
- Effects: there are as many effects options as there are makeup!
- Retouch: this allows you to slightly touch up your appearance.
- Timer: displays the time of the video at the top of the screen.
- Align: align the frame of your previous video clip with your current clip. This makes for seamless transitions.

4. To record the video, click on the record button at the bottom center of the screen.
5. Once you have created your video, you can click on the left arrow to edit your video. Click on the right arrow to go ahead publishing the video. Once you click the right arrow, you will see your final video and at the bottom you will see the “Share to” option.
6. On the Share screen, you have the option to add a title to the video.
7. Your last step is to click “Share”. You have now completed your first reel!
Reel’s Advantages
What to publish in reels for real estate?
New Listing Trailer: If you have a new property about to hit the market, Reels is a great place to preview the property. Maybe show off some of the cool features of the home, like the updated bathroom, beauty garden or pool. Build anticipation!
Real estate behind the scenes: your schedule is busy and unpredictable – document that at Reels! Everyone likes to see behind the scenes of a real estate advisor’s day-to-day life, and it’s great to show clients what you’re willing to do, for a transaction.
Educational snippets: Reels is a great place to educate your clients about the buying/selling process. You might even consider posting a question in your stories asking, “what are your real estate questions?” and covering those answers on Reels.
Neighborhood Profile: If you are an agent marketing in a Nativu area, a good idea is to do small neighborhood profiles. You can focus on restaurants, entertainment in the area or outdoor activities. Also show accessibility and amenities.
Now that you know better how to make and use reels, they become a great option to approach your audience, show what it means to be a real estate consultant and create a bond with the audience. The uses that can be given to reels are very wide and will always give you advantages in future transactions. Exploit the potential of this tool and make it an ally of real estate.


